I own a FT897 for two years now and using it a lot for HF. The speaker from this radio is crap, so i wanted a better sound in the form of an external speaker. I've been on visit by some other Radio Amateurs who owned an external speaker, on which the sound was a lot better to listen to.
With this in mind i went looking for external speakers by the equipment manufacturers to have a look around for prices of there products. I found out that they ask astronomical prices. With that knowledge i went looking for second hand speaker units, which i found out, are rare. Even on the big rally's the prices for external speakers are high, so i was thinking on making one myself.
The first question that cam to mind is what the specifications must be. In the internet there is little to be found on that subject. On the homepage of PA0NHC i found something about homebrew. This information has resulted in this design. I have decided to build this speaker in three stages:
1 building of the speaker
2 electronics
3 finishing touch of the speaker
4 testimonials
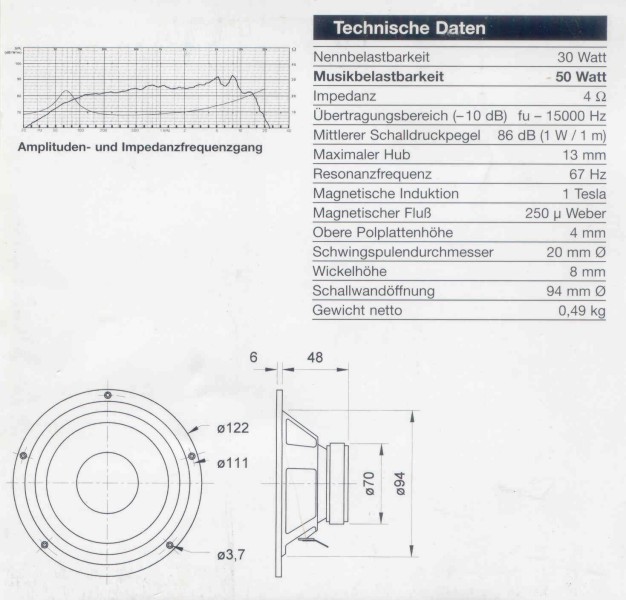
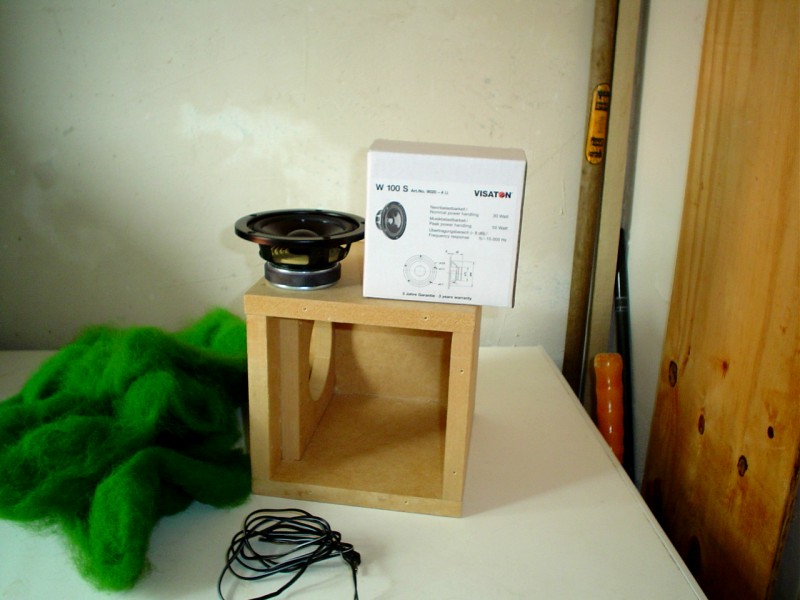
PA0NHC recommends to make the casing of the speaker out of 18 mm (0,7 inch) MDF and to fill the space inside with absorbent cotton. Beside that i like to have the possibility the change the phonetics of the speaker. For the speaker itself i have chosen for the Visaton W100S. (specifications see photo 1 below)
 |
 |
 |
 |
 |
specification |
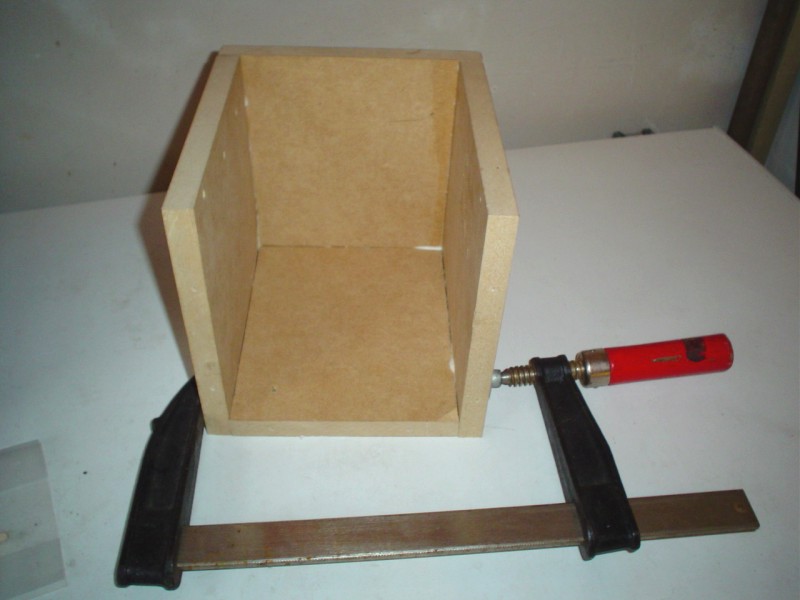
first part in gluing clamp |
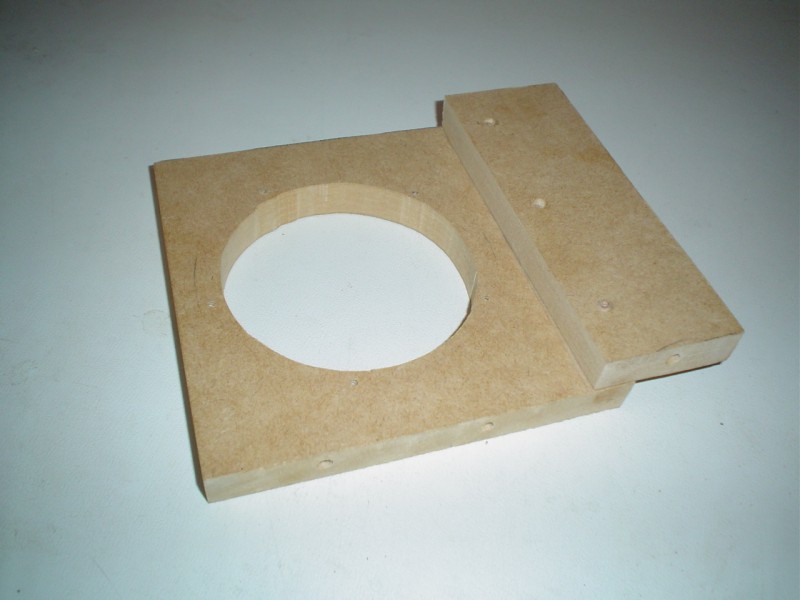
front part |
use enough glue |
that's it |
Click on photo for large one |
||||
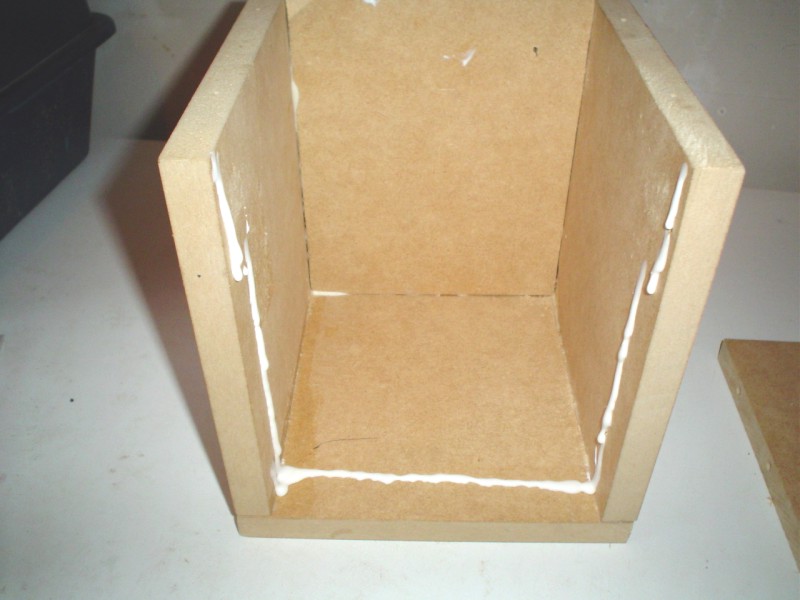
For starters in made several 20*20 cm (7.8 * 7.8 inch) boards of 18 mm (0.7 inch) MDF and put those together (photo 2).
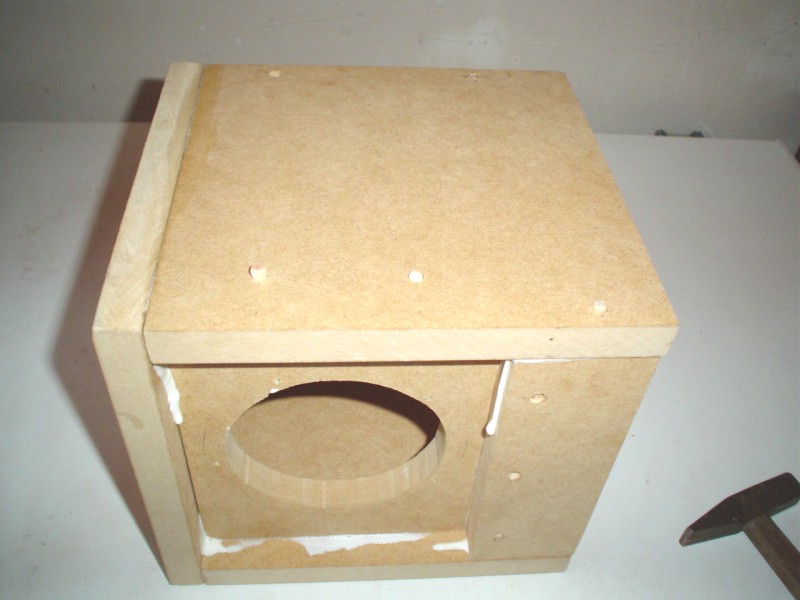
I wanted to sink down the actualspeaker in the casing for protection against push in of the speaker. In the finishing touch section i will document more protection against this. Beside that i want to have some room for comptrollers. (see photo 3). The assembly method i used is glue and small wooden pikes. I use this because i don't want to use screws.
 |
 |
 |
 |
|
empty casing |
needed parts |
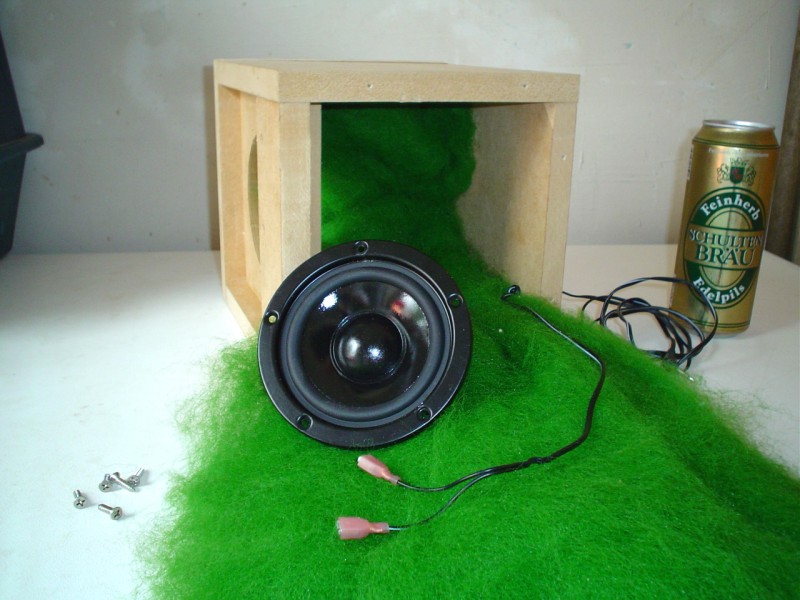
putting in the cotton and time for beer |
in use |
|
Click on photo for large one |
||||
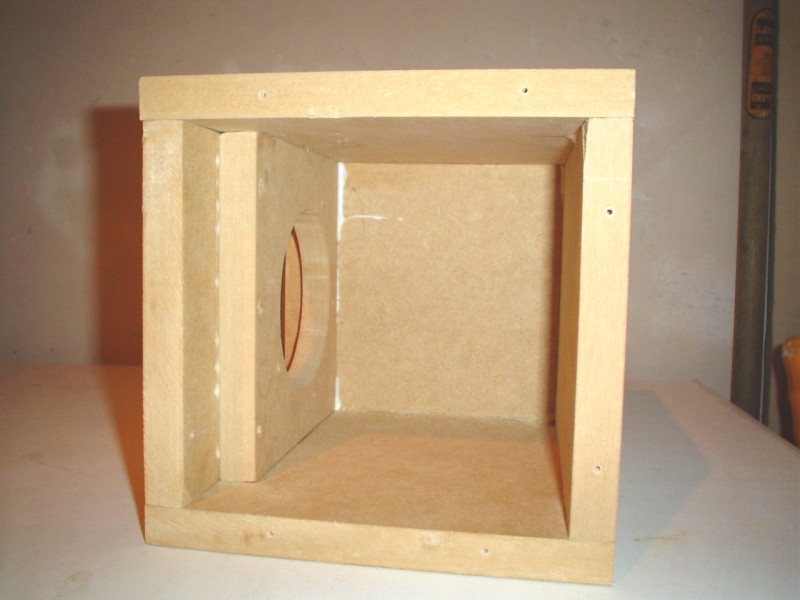
On the first photo above you can see the empty casing. The wooden pikes, still visible, should be sink down into the MDF and not be visible after the finishing touch. The last board will be TEMPORARLY be screwed in, for the electronics must be put in at a later stage.
On the second photo above the parts are visible, speaker, cotton and wire. On photo 3 above you can see how to put in the cotton, before mounting the speaker. Be sure to connect the cable fittings AFTER putting the wire through the casing. After all this work you are allowed to take a brake and have a beer.
Now you can think clearly again you can mount the speaker. After that put in the rest of the cotton and screw the last board in its place.
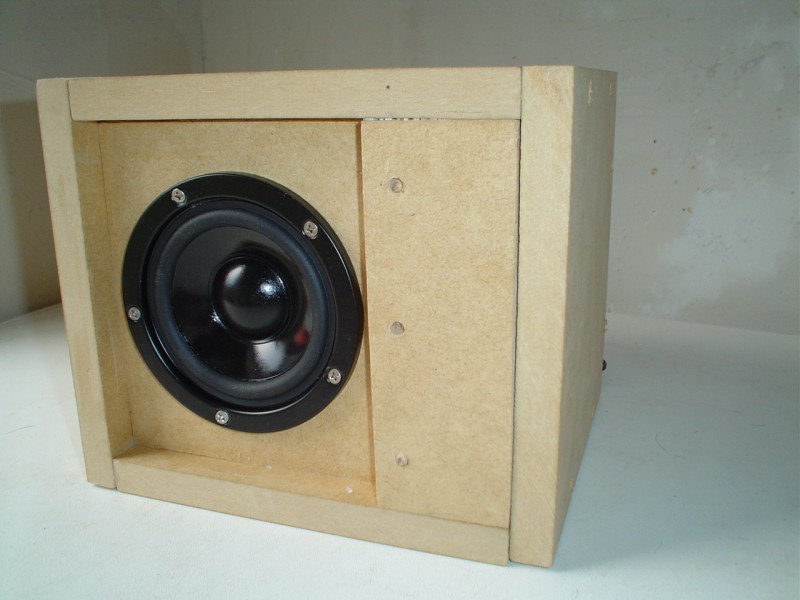
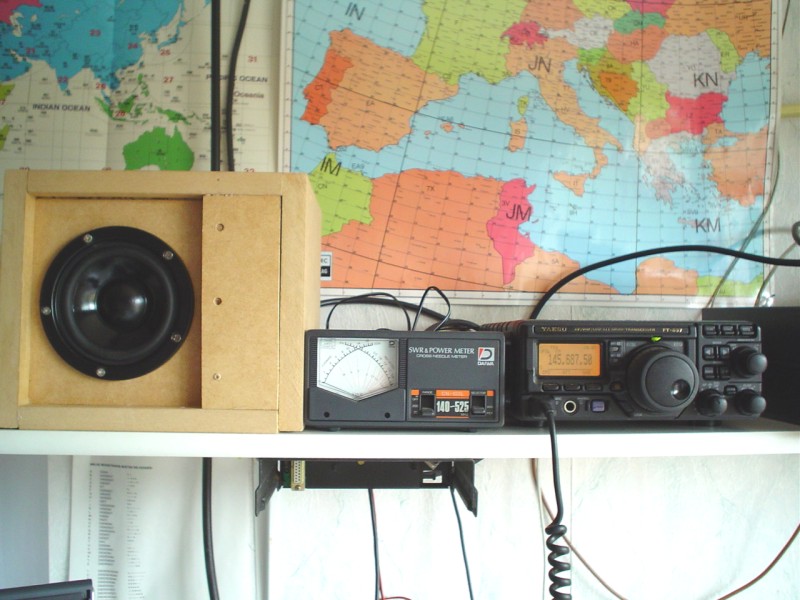
Photo 4 above shows the speaker in action.
This part remains to be written. Momentarily i'm investigating the possibilities for filtering and altering the the phonetics of the speaker. If you have any solution for this please drop me a line through e-mail
TO BE CONTINUED !!
Finishing touch
Also.......... TO BE CONTINUED !!
Testimonials
After building the external speaker and connecting to the radio i found that i nearly reached my goal. It was a relieve to listen to the sound on a crowded frequency. The shrill sound of the FT897 on it's internal speaker when listening to noise is chanced to an exceptable and pleasant level on the external speaker.
I'm under the impression that it's harder to distinguish a low level station and band noise, but for that reason the radio has an IF-shift. Besides that i have to adjust to the new sound of the external speaker. The perception of good signals (S5 or more) is a pleasure to listen to.